Hey! Link up your holiday projects here! Because it's the cool thing to do!
__________________________________________________________________________
...so I woke up today and realized it was Tuesday.
And then I realized that I'd been sucked into the Olympic vortex. I think I've probably watched all 16 hours of Olympic coverage on NBC every day. The TV is on if I'm awake.
Table tennis? You can wipe your face after every 6 points.
Beach volleyball? The Brazilian women's team goes by their first names only.
Regular volleball? You have to be prepared to hug after every point.
Badminton? The fastest hit was recorded at 265 mph.
Dressage? Whaaaaat? FYI, the horse doesn't get a medal, which I think is unfair.
You're welcome for all that knowledge. I'll be sure to give you an update in a few days.
Now, on to the Olympics of sewing. Otherwise known as the only event I'd get to compete in because I'm exceptionally average [oxymoron? yes/no?].
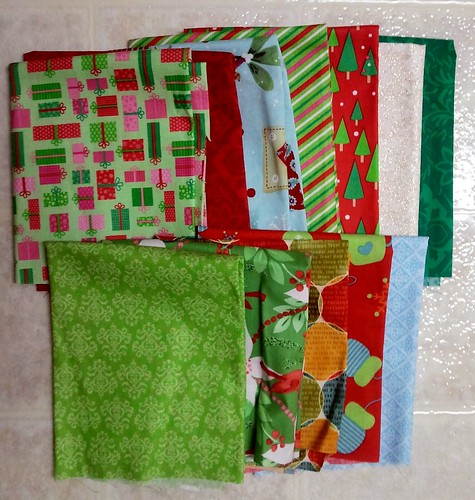
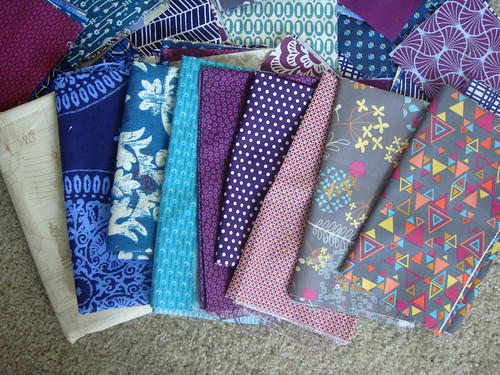
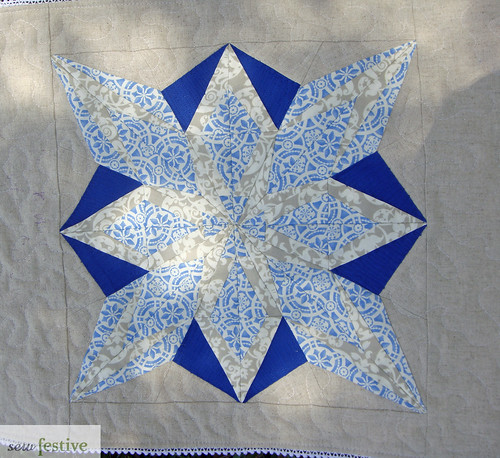
I need 510 charms for my queen-sized quilt.

I have 280. And no more fabrics that work with my color scheme. Epic fail. So I think that I don't even make it to the medal podium for that effort. I wish I'd won gold so I could pawn it for some fabric money...

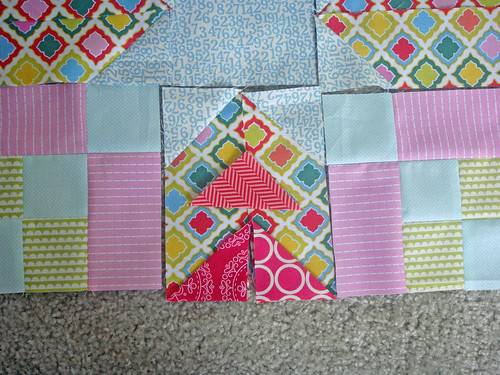
I started working with a new project earlier today. In various shades of green paired with Essex in Natural. I'm not sure what it will become, but I've toyed with a triangle design for my king-size bed quilt, so this is helping me see if I like it.
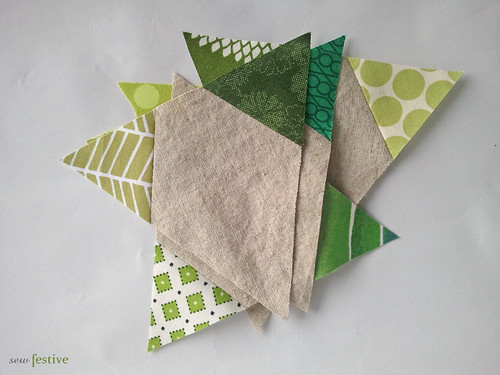
I know I want to make bigger blocks next time though. Maybe I'll keep making baby triangles and turn this into a shower curtain?! [slowly but surely letting patchwork take over my house; don't tell Stephen].
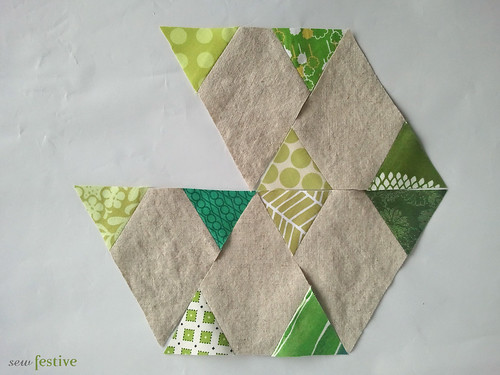 |
| Here we have a very orderly layout of triangles |
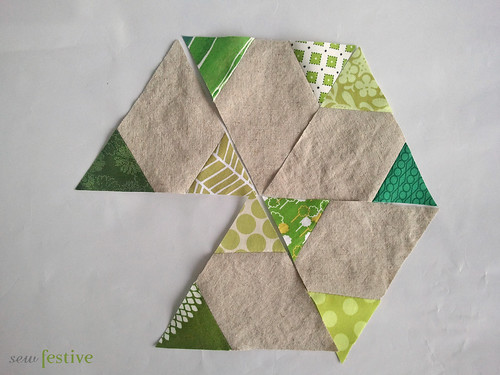 |
| And here we have a haphazard turning of triangles. I'm leaning towards this. |
I know I want to make bigger blocks next time though. Maybe I'll keep making baby triangles and turn this into a shower curtain?! [slowly but surely letting patchwork take over my house; don't tell Stephen].
Because I like the project so far I'm going to award myself the silver in this event.
::the crowd roars its approval::

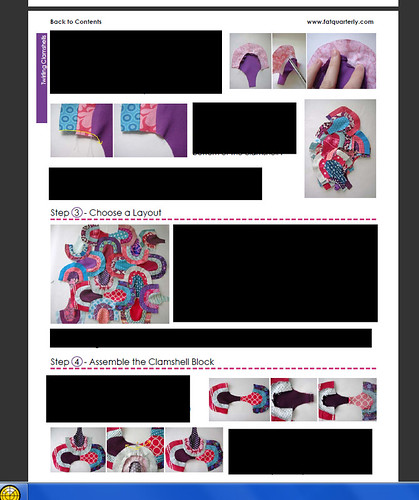
And today is the day that Issue 10 - Sew Britannia of Fat Quarterly is available for purchase! Aka the issue with my Twirling Clamshells pillow.
 |
| You have to buy the issue to see all the good stuff! |
In true Olympic spirit in honor of the issue, I win a gold medal for that pillow! Because...42 pictures in that pattern people, 42 pictures.
[In case you were wondering if it's worth buying the issue...it's 111 pages. Chock full o' goodness]
[In case you were wondering if it's worth buying the issue...it's 111 pages. Chock full o' goodness]
*Linked with Quilt Story